Live 3D Breadboard
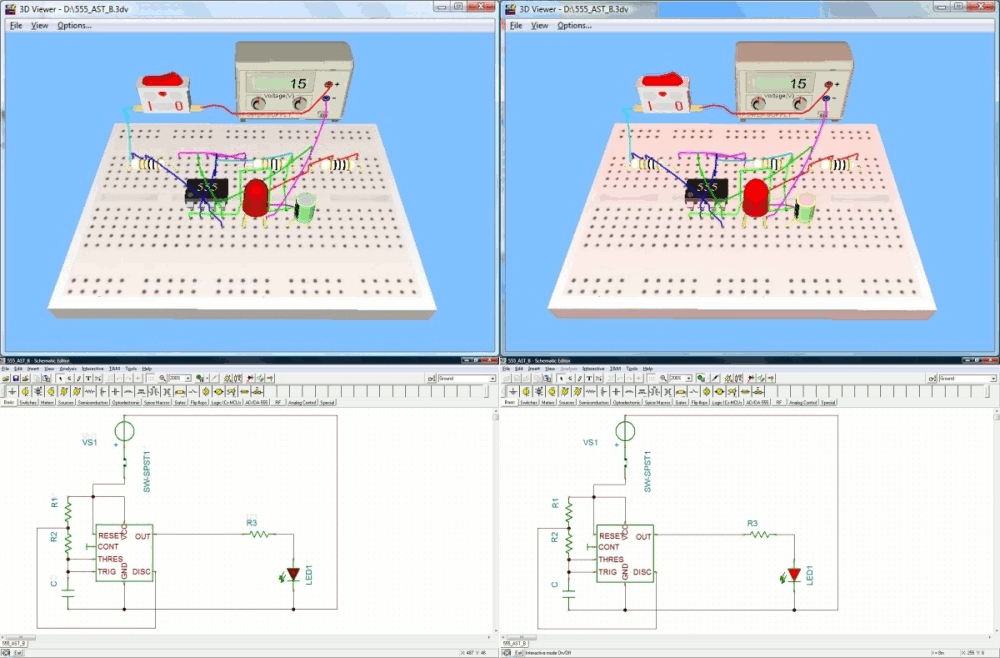
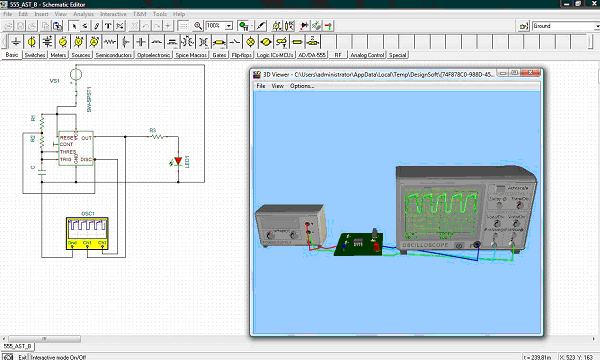
Using the Live 3D Breadboard tool in TINA, you can automatically build a life-like 3D picture of a solderless breadboard (sometimes called a “whiteboard”). When you run TINA in interactive mode, components like switches, LEDs, instruments, etc. become “live” and will work on the virtual breadboard just as in reality. You can use this capability of TINA to prepare and document lab experiments.
You can either assemble the circuit step-by-step or by generating the whole circuit on the breadboard. Pick up and move parts on the breadboard using the mouse, and TINA will automatically rearrange the wiring while retaining connectivity. In the same fashion, you can select and move wires for clearer appearance. Note that you cannot change the endpoints of a wire this way–wiring integrity is preserved.

The breadboard tool is mostly intended for educational purposes to prepare laboratory experiments in a safe 3D environment. You can also use this breadboard to guide you in actually wiring a physical breadboard for lab verification.

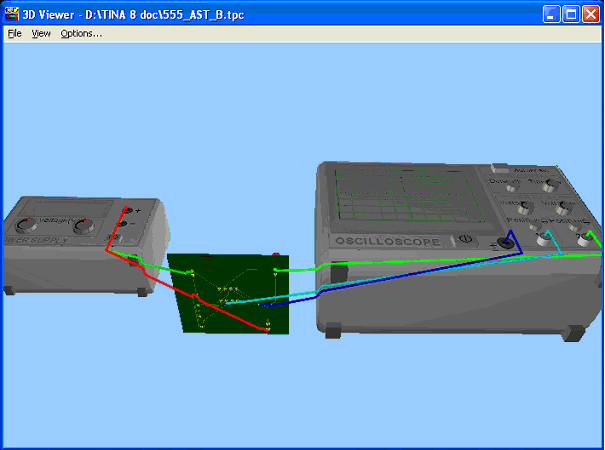
If you turn the PCB upside down (by holding down the left mouse button over an unused area and moving the mouse), you can see the connections of the wires from the PCB solder side to the oscilloscope.

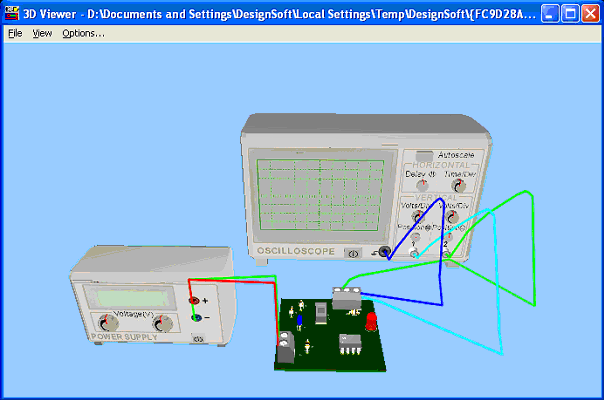
If you use connectors instead of soldering wires directly to the PCB and connect the instruments through those. By adding Header2 and Header3 (they can be found under the Connectors button on the Switches component toolbar), you can make the interconnection shown on the picture below.

|